Video Marketing: The Definitive Guide

Written by Brian Dean
This is a complete guide to video marketing in 2026.
In this in-depth guide you’ll learn:
- How to create awesome video content
- How to promote your videos
- How to use videos to increase conversions
- Lots more
So if you’re ready to go “all in” with video, this guide is for you.
Let’s dive right in.


Chapter 1:Video Marketing Fundamentals

In this chapter, I’ll help you get a handle on the fundamentals.
So if you’re new to video, or want to make sure you’re on the right track, you’ll love this chapter.
Then, in later chapters, we’ll cover advanced tips, techniques, strategies and case studies.
But for now, let’s cover the basics of video marketing.
What Is Video Marketing?
Video marketing is the practice of planning, creating, editing, publishing video content to promote your brand, business, or product. Common social platforms you can use for video marketing include YouTube, TikTok, Instagram, Facebook, Vimeo, and Snapchat.
Why Is Video Marketing Important?
Video is quickly becoming the de facto content format online.
Video is quickly becoming the de facto content format online.
In fact, it’s no exaggeration to say that we’re in the era of video, with the vast majority of internet users watching digital videos each week.
With that, let’s quickly look at some other key video marketing statistics…
In 2022, 82% of internet traffic was video (Cisco).

The world’s largest video platform, YouTube, is the second most popular website on the planet (Backlinko).

And people don’t just visit YouTube. They spend significant amounts of time there. In fact, people watch 1 billion hours of YouTube videos every day (YouTube).

The average active user spends over 45 minutes watching YouTube daily (Statista).

Social media sites like Facebook, Instagram and even Pinterest have been challenged to prioritize video to keep up with user preferences.
This shift is particularly evident in the rise of platforms like TikTok, where the average user spends an impressive 1.5 hours per day on the app (Sensor Tower).

When you dig deeper, you realize that social media videos (and online video in general) are a lot more than cute cat videos.
In fact, consumers are using video to help them make decisions about what to buy and who to buy it from.
72% of consumers prefer to watch a video about a product than read a product description (HubSpot).

Over 82% of people have been convinced to buy a product after watching a video (Wyzowl).

Why More Businesses Are Going All In With Video
Not surprisingly, more businesses are using video as part of their traditional and digital marketing campaigns.
91% of businesses use video as a marketing tool (Wyzowl).

88% of marketers state that they’re happy with the ROI that they get from video on social media (WinSavvy).

87% of video marketers say video has directly increased their sales (Wyzowl).

And maybe the most interesting statistic of all…
Because video has such a high ROI, 88% of video marketers see video as an important part of their overall strategy (Wyzowl).

How do You Develop a Video Marketing Strategy?
Back in the day, video was a tactic that you threw into your content marketing now and again.
But to succeed with video marketing today, it’s important to have a solid strategy that you can use.
Your video marketing strategy should include:
- Researching your customer’s pain points
- Developing topics that solve your customer’s problems
- Outlining or scripting out your video content
- Developing a unique look and feel for your brand’s videos
- Shooting and editing your videos
- Incorporating videos into your text-based marketing content
- Distributing your videos on social media and dedicated video platforms (like YouTube and TikTok)
- Measuring the results of your videos
- Improving your content strategy based on data and feedback from your target audience
How Video Has Helped My Business Grow
My business is a living example of the power of video.
I created my first online video in 2013.

I was just starting out. I didn’t have a production budget. So I asked my friend to come over and film the video with his DSLR camera.
Because it was my first video, I was SUPER nervous.
Fortunately, people generally liked it.

(Even though, as you can see, I desperately needed a haircut.)
Flash forward to today, and I’ve produced hundreds of videos for YouTube, my own website, and for our online courses.

And, unlike my first video that only got about 200 video views, a lot of people now see my videos every month.

I should also point out that a good chunk of these folks ultimately become customers.
In fact, according to our most recent customer survey, a significant amount of new customers specifically cited our videos as a reason they decided to sign up.

Needless to say, I’ve learned a lot about video marketing since 2013.
And I’m going to share everything I’ve learned in this guide.
This leads us to chapter 2…
Chapter 2:Video Content Templates

In this chapter, I’m going to give you five proven video content templates.
These are detailed templates that will help you plan, outline, script and film your videos.
You can use these different types of videos for social media posts, landing pages or your business’s homepage.
So if you’ve ever struggled with the video creation process, these templates will come in handy.
Template #1: The How-to Video
The How-to Video is just like it sounds…
It’s a video that shows someone how to do something, like bake a cake or do a pushup.
For many businesses, how-to videos will be your bread-and-butter. In fact, how-to videos are like a video version of blog content. They’re not designed to convert people right then and there.
But how-to videos ARE great for getting your brand in front of potential customers. So, along with product demos, I recommend using them in your video marketing.
Here’s the template:

Let’s break each element down.
Intro=Video Preview
The main goal of your preview is to let your viewer know they’re in the right place.
In other words:
There’s no need to tell people why your topic is important. If they landed on your video, they already know it’s important.
This is a mistake I made a lot with my early videos.
Instead of jumping right into the content, I’d go into a long backstory.
Spoiler alert: people HATED these intros. And they clicked away.
(Not to mention the fact that, again, I really needed a haircut. 🙂 )
Today, my intros are short, sweet and to-the-point.
Which has dramatically improved my average Audience Retention.

Steps or Tips
Now it’s time for the meat of your content.
Depending on your video, you may outline a series of steps. Or give people a list of tips.
For example, this video from my channel lists out a series of 9 traffic strategies.
On the other hand, this video outlines a specific step-by-step process.
If you watch those videos, you’ll notice that the structure is basically the same.
The only difference is that the steps are in a particular order. While the strategies can be in pretty much any order.
That said, there’s one BIG thing to keep in mind with this section of your how-to video:
Keep things moving.
In other words: there’s no need to cover everything there is to know about a step or tip. Yes, you should cover each step in-depth. But as soon as you’ve covered the basics, it’s time for the next step.
Why?
Well, it’s no secret that people online have super short attention spans. And if you go on and on about the same topic, you’re gonna lose your viewer’s attention.
For example, I used to spend 2-3 minutes on a single step or tip.
And people got REALLY bored.
Today, I spend about 30-60 seconds per tip. And then move right into the next thing I want to cover.
That way, my video content moves fast… which keeps (potential) customer engagement high.
Wrapping Up
Now that you covered your last step, what’s next?
Well, I don’t recommend ending your video out of nowhere. That’s super jarring.
Instead, you want to quickly cover 3 main things in your video conclusion:
- A quick recap
- Examples
- Next steps
For example, in this video, I recap things with:

Note that I don’t repeat the same tips they just heard about.
Instead, I quickly outline what they learned… and start to transition into the end of the video.
And if you have any more examples of how this process helped you, a customer or a friend, mention them here. You probably already mentioned a few examples in the steps section of your video. But feel free to add one more here.
This final example gives people motivation to take action on what they just learned.
Finally, let people know the next steps.
If they’re watching your video on YouTube, it might be to subscribe to your channel.
If you’re hosting your video on your own website, you might ask them to subscribe to your newsletter.
Either way, make sure to cap off your video with a clear set of next steps.
Here’s an example:

Template #2: Product Demo
If you want to show off how your product works, nothing beats video.
Here’s the template I recommend:

Introduce The Problem
Lots of product demo videos start off with why their product is so great.
And it’s a HUGE mistake.
Yes, you can show off your product in the beginning of your video. But only for a second.
That’s because the goal here isn’t to show off your product (yet).
Instead, the goal of this section is to quickly (and I mean quickly!) introduce the problem that your product solves.
This is an old infomercial trick that 1000% applies to product videos.
If you’ve ever been up at 3am flipping through the channels, you’ve probably come across an infomercial.

And if you watch them closely, you’ll notice that 80-90% of the infomercial isn’t about the product itself. It’s about the problem the product solves.
(Especially at the beginning of the infomercial.)
For example, the Huggle doesn’t start off with features, benefits and prices. Instead, they spend the first few seconds outlining the problem.

That way, when they DO reveal their product, viewers are primed to buy.
Tease The Solution
Now that you’ve hit the viewer’s pain points, it’s time to tease a better way.
There are a few ways to go about this.
The first is to cover common solutions that people use to solve the problem you just introduced.
For example, this video shows how most people get stuff notarized (and how much of a pain it is).

You can also just say something straightforward like: “If you’ve ever struggled with X, there’s a new way to solve X that works great.”
Product Reveal
Now it’s time for the fun stuff: showing off your product.
This is the part of your video where you finally reveal your product or service.
(Or, as infomercials like to say: “Introducing The Dog Snuggie!”)
No need to be fancy here. Just show a nice shot of your product with an exciting introduction.
Here’s a great example:

Features and Benefits
Now that people have seen your new product, it’s time to cover some key features and benefits.
These benefits depend a lot on the type of product you’re showing off.
If it’s software, you want to show all the cool things your software can do.
If your product is a supplement, you want to go into the key ingredients and why it works.

Examples and Testimonials
Next, it’s time to show off examples, case studies and testimonials.
Octasense does a great job weaving case studies into their product videos:

Call To Action
Finally, it’s time for a CTA.
Most of the time, this will be a CTA to make a purchase.
But that does depend on your product or service. Let’s say you’re selling a $50k piece of factory equipment.
In that case, your CTA might be “learn more” or “book a demo”.
Either way, you want to give your viewer something specific to do after they finish your video.
Template #3: Explainer Video
Here’s where you explain a tricky concept… a concept tied to your product or service.
Here’s the step-by-step process.

The Big Intro
Here’s where you introduce your concept. There’s no need to beat around the bush here. Just let them know what you have in store for them.
For example, Wise gets right into what their video is all about.

The Questions
Before you dive into your explanation, ask a few key questions that people have about this concept.
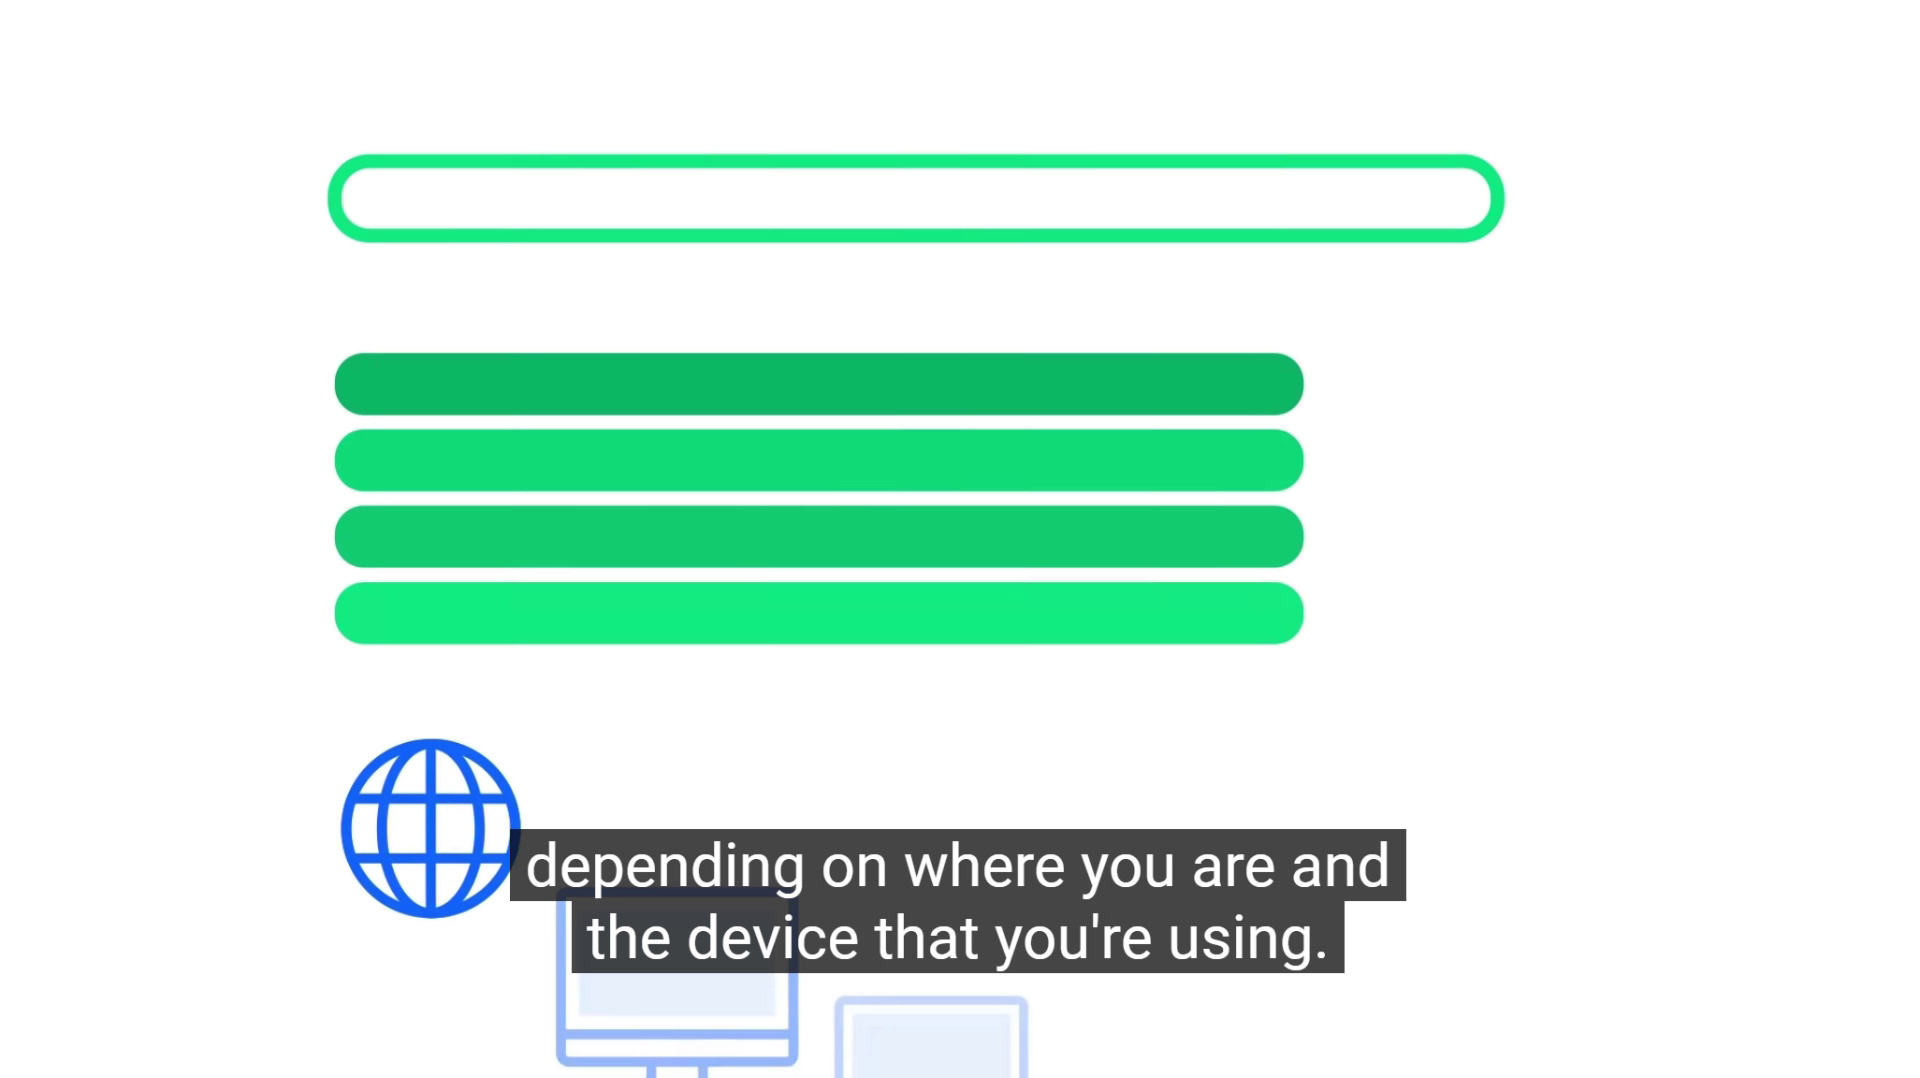
For example, this cool Explainer Video about APIs asks questions like “How does data get from here to there?”.

These questions make the person watching SUPER curious about your explanation.
Why?
Because these are questions they’ve probably wondered themselves. And when you ask those same questions early on, it makes your viewer PRIMED to keep watching.
The Explanation
Now it’s time for the meat of your explainer video: the explanation.
How you structure this depends a lot on what you’re explaining.
But in general, you want this section to be pretty short. Just enough to give someone a basic understanding of the concept.
In other words: you’re not trying to give your viewer a Ph.D. on your topic. Instead, you’re giving them enough information so they have the basics down.
Here’s a great example:
The Product Tie-In (Optional)
If you want to use your explainer video to pitch your product or service, now’s the time to do it.
The key here is to have a smooth transition from your explanation to your product. In other words: it shouldn’t feel like an ad tacked on at the end of the video.
Spiel Creative does a brilliant job with their Product Tie-In section.

Template #4: The Case Study
It’s no secret that case studies can boost conversion rates on landing pages, webinars and more.
And if you want to get more results from them, I highly recommend video customer testimonials.
There’s nothing more powerful than seeing a living, breathing person talking about how great your company is. Text simply can’t compare.
With that, here’s how to structure your video case studies and testimonials for maximum effect.

The Brief Background Story
You want to start your case study off by answering the question:
“Who is this person?”.
In other words:
Don’t kick off your case study video with your customer talking about how great you are. Instead, ask your customer to briefly describe who they are and where they’re at in life.
That way, your viewer has a chance to relate to that person (which is KEY).
For example, in this case study video, one of our students starts off with a brief outline of who they are.

Note: I always ask our customers to describe their experience in their own words. That way, their case study video looks legit and authentic… because it is.
The “Before”
The main goal of this section is to outline where your customer was BEFORE they tried your product.
If you’re a fitness coach, this could be your client describing how they struggled with their weight after having their first kid.
Or if you sell productivity software, it could be a busy executive talking about how they felt overwhelmed.
For example, you can see in this video Don describes how he struggled with content creation:

The “After”
Now that your customer has established who they are and where they’re coming from, it’s time to get into the results.
Like I mentioned earlier, I don’t recommend telling your customers what to say or how to say it.
But if possible, encourage them to share specific results in their own words.
And remember: these results don’t have to be mind-blowing.
In fact, moderate results (like losing 10 pounds) are sometimes better because they’re more relatable.
For example, let’s look again at Don’s case study video.

His results are impressive (ranking #1 for his target keyword), but very relatable.
The Recommendation
Finally, it’s time for your customer to answer the question: “What would you tell someone that’s on the fence?”.
Here’s an example:

Now that you have these four templates in hand, it’s time to cover video tools and equipment.
Template #5: The Short-Form Tutorial
I haven’t personally dabbled in short-form video yet.
(Maybe I’m just too old for TikTok dances?)
It’s impossible to ignore this increasingly popular format.
But I’d be remiss if I didn’t talk about this increasingly popular format.
Just look at Kat Norton, aka Miss Excel. She’s built a multi-million dollar business teaching Excel through fun and engaging short videos on TikTok and Instagram.
@miss.excelIf you’re looking for the “get me to the beach” shortcut….🏖️ Here it is! Today is the LAST DAY of our annual summer sale, which will give you 50% OFF our most popular product, the Complete Microsoft Office Suite Bundle! Come join tens of thousands of others who are leaving work early, automating tasks, saving hours each week with work & putting their Excel nightmares to rest! Click the link in my bio for more details ☀️♬ Red – From “Descendants: The Rise of Red” – Kylie Cantrall & Alex Boniello & Disney
So, while I can’t speak from personal experience, I’ve studied what works. Here’s a template you can use for platforms like TikTok, Instagram Reels, and YouTube Shorts:
- Hook (0-3 seconds): Start with a bold statement or question that grabs attention immediately. For example: “Want to save 2 hours on your monthly report?”
- Problem Statement (3-5 seconds): Quickly describe a common problem your audience faces. For instance: “Manually sorting data is a time-suck.”
- Solution Teaser (5-7 seconds): Hint at your solution without giving it away. Example: “There’s an Excel function that can do this for you in seconds.”
- Demonstrate the Solution (7-20 seconds): Show the solution in action. Keep it visual and easy to follow. Use on-screen text to highlight key steps.
- Results (20-25 seconds): Showcase the end result. Emphasize the time saved or the improvement made.
Key tips:
- Use trending audio to increase discoverability
- Deliver a physical performance (skit, dancing) to make it engaging
- Use eye-catching visuals or transitions between steps
- Keep your energy high throughout the video
- Use humor when appropriate to make “dry” topics more entertaining
Short-form video trends evolve rapidly. Always research current best practices before creating content.
Chapter 3:Video Equipment Checklist

Do you need to invest in some equipment to make high-quality videos? Yes.
Does this equipment need to break the bank?
Nope!
In fact, you can usually get all the equipment you need to shoot GREAT videos for a few hundred bucks.
And if you’re on a really tight budget, I’ll show you a few hacks you can use to produce pro videos without breaking the bank.
Let’s dive in.
Your Location
Yup, cameras and mics are important.
But nothing is more important than where you shoot.
Think about it:
You can have the best camera in the world. But if you shoot in a closet, your video is going to look horrible.
On the other hand, if you shoot in a well-lit room, you can make really nice videos with an iPhone.
That said, when it comes to shooting marketing videos, you have a few different location options:
Your Home or Office
Most homes and offices can be converted into a makeshift video studio.
That said, here are a few things to keep in mind when it comes to shooting at home:
- Pay close attention to echo and noise: Houses and offices aren’t set up for audio recording (why would they be?). So double-check that the room doesn’t have a lot of echo (reverb) or noises from the outside. Bad audio can kill an otherwise great video.
- Clean background: Find a room that has a neutral background. Or a static background that’s not distracting (like a bookshelf).
- Consistent lighting: Natural light looks great. But it’s unpredictable. So make sure that you can control the lighting in your room with curtains or shutters.
In fact, I shot a lot of my early videos in my apartment.

And thanks to a fairly soundproofed room, a clean background and nice lighting, they came out pretty good.
But not nearly as good as when I shoot in the studio.
Speaking of…
A Pro Studio
After shooting a handful of videos in my house, I quickly realized something:
The videos looked OK. But I was spending HOURS setting up and taking down lighting, backgrounds and soundproofing. My living room went from a place to chill to a brightly lit video studio with stuff everywhere.
Not good.
So one day I decided to try a photography studio.
The videos looked well-lit and clean… but the audio was terrible.
(And, as I’ll cover in a minute, how your video sounds is actually more important than how it looks.)
Finally, I went to a proper video studio. This time the videos looked AND sounded great.

Plus, I didn’t have to turn my living room into a studio every time I wanted to shoot. I just showed up… and the camera, lighting and background were already set up for me.

Nice.
So that’s the big upside of using a studio: it’s super convenient.
Yes, you MIGHT be able to film studio-quality videos in your home or office. But you also have to set everything up (and take it down) whenever you want to shoot.
The downside of a studio is that it can be expensive. The exact price depends on the studio. I’ve personally paid between $800 (Berlin) and $5k (NYC) for a single day of shooting.
On Location
This can be outside. At an event. Or anywhere that’s not where you normally shoot.
The upside of on-location shoots is that they look interesting and dynamic.
I used to shoot my video intros outside for this exact reason:

Yes, these look great. But they were a giant pain in the butt.
Why? Because these location shots made our shots 10x more complicated. Lighting, audio, noise, rain, snow, other people… can (and will) affect your shoot.
Which is why I recommend avoiding on-location shots when you’re first starting out. Then, once you get a handle on the basics, feel free to spice things up with an on-location shoot.
Camera
Now that you have a location, it’s time to pick a camera.
There are (literally) thousands of cameras to choose from.
But I recommend using a DSLR camera.

Why?
Three reasons:
First, they’re pretty cheap.
Compared to most video cameras, DSLRs are super cheap. In fact, this highly-rated DSLR kit on Amazon is only $649.

Second, they’re easy to use.
If you’re used to filming with your iPhone, you don’t know how good you have it until you’ve tried a fancy video camera.
Most high-end video cameras are PACKED with features and settings that you’ll never use. Sure, DSLRs have a learning curve. But they’re basically point-and-shoot.
Third, the videos look great.
As long as you have solid lighting, you can shoot super pro videos with a DSLR. And lots of them now even support 4k.
In fact, this video was shot with a cheap DSLR.
Tripod
If you want to shoot pro videos, you need a tripod. There are no two ways around it.
Fortunately, there are lots of tripods that are designed specifically for DSLRs.

I recommend looking for tripods that have “video head” like this one. They’re much easier to operate for video shoots compared to tripods with photo heads.
Microphone
Most cameras (including DSLRs) come with a built-in mic.
Don’t use them!
If you want your videos to look AND sounds great, you need an external mic.
Your two main options are a lav mic or a boom mic.

I prefer lav microphones. They’re simple to use. And because they’re close to your subject’s mouth, the audio usually sounds great.
The downside of a lav mic is that, if you decide to hide it under your shirt, the sound can be muffled. And if it’s not aligned correctly, it can scratch against your chest or clothing. This can create some added noise that you’ll have to contend with in post-production.
I personally don’t mind that my mic is showing in my videos.

But if that’s a concern for you, you probably want to go with a boom mic.
And if you’re on a shoestring budget, you can actually record audio with your iPhone. It’s not ideal. But it beats using your camera’s mic.
Lighting
When it comes to lighting, there are a million options.

In general, I recommend using lights with a softbox.
That’s because box lights create soft, flattering light.

The only other thing to keep in mind with lighting is that you can almost never have enough of it.
In fact, for most shots, you’ll need few different lights to get the job done, depending on where you shoot (studio, home or outside).
Chapter 4:How to Make Awesome Videos

Whether you film your videos with a fancy camera or your smartphone, in this chapter I’m going to show you how to create awesome-looking videos.
(Including lots of advanced tips and strategies that I’ve learned from years of video production.)
So if you’ve ever wondered how to get the most out of your camera, mic and lighting, you’ll learn a ton from this chapter.
Use a Script Or Outline
This is a lesson I had to learn the hard way.
When I first got started with videos, I’d have a rough idea of what I wanted to cover. But I pretty much freestyled.
This led to me going off on little tangents, like this:
(Not to mention countless cuts because I lost track of what I was saying.)
Today, I script out every single line in advance:

Which helps me move REALLY fast.
Because my videos are scripted in advance I can literally cover 2-3x more content in the same amount of time.
(Plus, the shoot itself goes smoothly because I don’t have to do a bunch of takes. I just read my lines off the teleprompter.)
You don’t necessarily need to write every word ahead of time. But I do recommend using a detailed outline that covers what you want to cover. That way, your final video content comes out super crisp.
Use 3-Point Lighting
Here’s how it looks:

In other words, you point your lights at 3 areas:
- The background
- The subject
- Ambient light
If you don’t have all three of these areas well-lit, your lighting can look really unbalanced.

But when you have enough ambient light in the room, on your subject and directly on the backdrop, your videos will look super bright.

Set Up Soundproofing
You can have the best mic in the world…
…but if you shoot in an echoey room, your audio will sound terrible.
If your room has a lot of echo, I’d grab some soundproofing material from Amazon.
And if you want a budget option, throw some thick yoga mats on the floor.
Most echo comes from sound bouncing back and forth off the floor and ceiling. And yoga mats stop sound from bouncing up and down.

(You can also hang some thick blankets up around you. They can do wonders for reducing echo.)
Chapter 5:Edit Videos Like a Pro

So you just shot a bunch of footage.
Well, now it’s time to edit your videos like a pro.
Specifically, in this chapter, I’m going to show you how to use color correction, cuts, and on-screen graphics to make your videos look amazing.
Let’s get started.
Color Correction
Color correction is probably the most underrated part of the editing process.
In fact, color correction can completely transform how your video looks and feels (in a good way).
For example, look at the difference between this raw footage from the studio compared to the color-corrected version.

That’s a world of difference.
Lots of Cuts
Thanks to vlogs and Instagram Stories, people are used to jump cuts.
So don’t be afraid to cut your video up into dozens of different pieces… and use jump cuts to tie them all together.
These cuts keep your video moving, which can help with audience retention. They also make it easy to cut out “umms”, “ahhs” and other stuff that you probably don’t want in your final video.
For example, this 10-minute video from my channel has 88 cuts.
Graphics and Animations
The #1 question I get about video marketing is “What editing software do you use?”.

The reason people ask me this question is that my YouTube videos use TONS of graphics and animations.

The thing is, I work with a talented video animator that makes these graphics for us. And while he uses Adobe After Effects, it’s really not about the tool.
In other words, there’s no magical software that’s going to bang out custom illustrations and animations.
That said:
If you have experience with animations or illustrations (or want to learn), then feel free to add fancy graphics to your videos.
Otherwise, I’d keep your graphics super simple and straightforward.
For example, Simone Giertz adds lots of text to her videos.

These make her videos more dynamic. Even if you have zero experience with editing, you can do the same thing on your videos.
“Shooting For The Edit”
One of the big mistakes I made early on was shooting a bunch of completely disorganized footage.
A single video would be split up into several different files. Sometimes I’d end up with 5 short videos split across 3 different files.
To make matters worse, I didn’t have an outline or script. So I wasn’t sure which shots would be of me… or shots that would use a b-roll, graphic or different camera angle.
And I’d send this disorganized mess to Sasha, our editor, and say: “edit this”. He did a great job with what I sent him. But it took 2-3x longer than it should have because I didn’t plan ahead of time.
Today, I “shoot for the edit”. This means that I plan and shoot videos with the editing process in mind.
For example, I try to put each video on its own video file.
Also, because I use a script, I know in advance which footage I’m going to be in. And which footage will be a b-roll or graphic.

That way, I don’t need to worry about how I look in those particular shots.
Chapter 6:Advanced Strategies and Techniques

Now that you’ve got the basics of video marketing down, it’s time to dive into some advanced material.
Specifically, I’m going to show you 6 advanced video strategies that I use to make my videos better.
You’ll also learn about strategies that I use to get more views on every video that I upload to YouTube.
Nail The First 5-10 Seconds
The first 5-10 seconds of your video are HUGE.
So make sure your video grabs your reader’s attention right away.
In other words, avoid animated logos.

Long-winded background stories.
Or anything else that’s not super compelling.
For example, I always start off my videos telling people what they’re going to learn.

I also try to be more high-energy here to get people excited about the video.
The Sequel Technique
It’s no secret that YouTube is a massively popular search engine.

That said:
YouTube search is only ONE way to get views on your YouTube videos.
The other way?
Suggested Video.
In fact, for some channels, Suggested Video brings in more monthly views than YouTube search.
(Yes, really.)
The question is: HOW do you get your videos to show up in the Suggested Video sidebar?
A new strategy called “The Sequel Technique”.
I outline the entire process in this video:
Mix Things Up
In other words, make your video content SUPER dynamic.
A good rule of thumb is that you should change something in your video once every 20 seconds.
This can be as simple as a camera angle change:
Or it can be something more involved, like transitioning to a b-roll or animation.
Either way, mixing things up makes your video more compelling, interesting… and ultimately a video that people will watch all the way to the end.
Test Longer Videos
Most people are afraid of publishing videos that are longer than 5 minutes.
They usually say something like: “People have really short attention spans. No one wants to watch a video that’s more than a few minutes”.
(It’s funny: I remember people saying the same thing about blog posts a few years ago. But you don’t hear that very often these days…)
And I can tell you from first-hand experience that long-form video content CAN work.
For example, this video from my YouTube channel is 19 minutes long.
Despite being “long”, it has over 780K views up to date.

And according to this industry study we did a few years back, longer videos are more likely to rank in YouTube search.

Bottom line? If your video is great, people WILL watch it. Even if it’s long.
Use a Consistent Look and Feel
If brand awareness is one of your goals, then your videos should all have a similar look and feel.
This doesn’t mean you have to shoot in the exact same place with the exact same background every single time.
Instead, make sure each video has the same branding and feel.
Marie Forleo does a great job with this.
Even though Marie’s interview videos are in a different location than her normal videos…

…all of her videos have the same branding and atmosphere.

Use Humor
I can tell you from experience that making videos can be STRESSFUL.
Well, humor is an easy way to lighten things up AND make your videos better.
For example, I add 2-3 cheesy little jokes to most of my videos:

These always lighten up the mood in the studio. Mostly because we all know how cheesy these jokes are!
More important than that, these little jokes help spice up videos on dry topics, like technical SEO and keyword research.
Chapter 7:Video Marketing Case Studies

In this chapter, I’m going to share two in-depth video marketing case studies with you.
That way, you can see the strategies and techniques from this guide in action.
Specifically, you’re going to see how Andrew got 4 million views on a single Facebook video. And how I hit the #1 spot in YouTube for the keyword: “SEO”.
Let’s get started.
How Andrew Holland Generated
4 Million Views on a Facebook Video
Backlinko reader Andrew Holland was given a difficult task from one of his clients:
Create a social video designed to go viral. From a Facebook page that had 280 followers.
And, oh yeah, his client had about 100 bucks to spend on video ads. So this whole thing had to be pretty much 100% organic and rely on influencers to get the word out.
Here’s what happened next…
First, Andrew created a list of people that his client’s audience of martial arts fans would LOVE to see more content about.

Second, he made an in-depth video about the legendary Bruce Lee.

In the end, Andrew’s video did GREAT.
In fact, to date, this video has picked up over 4 million organic views:

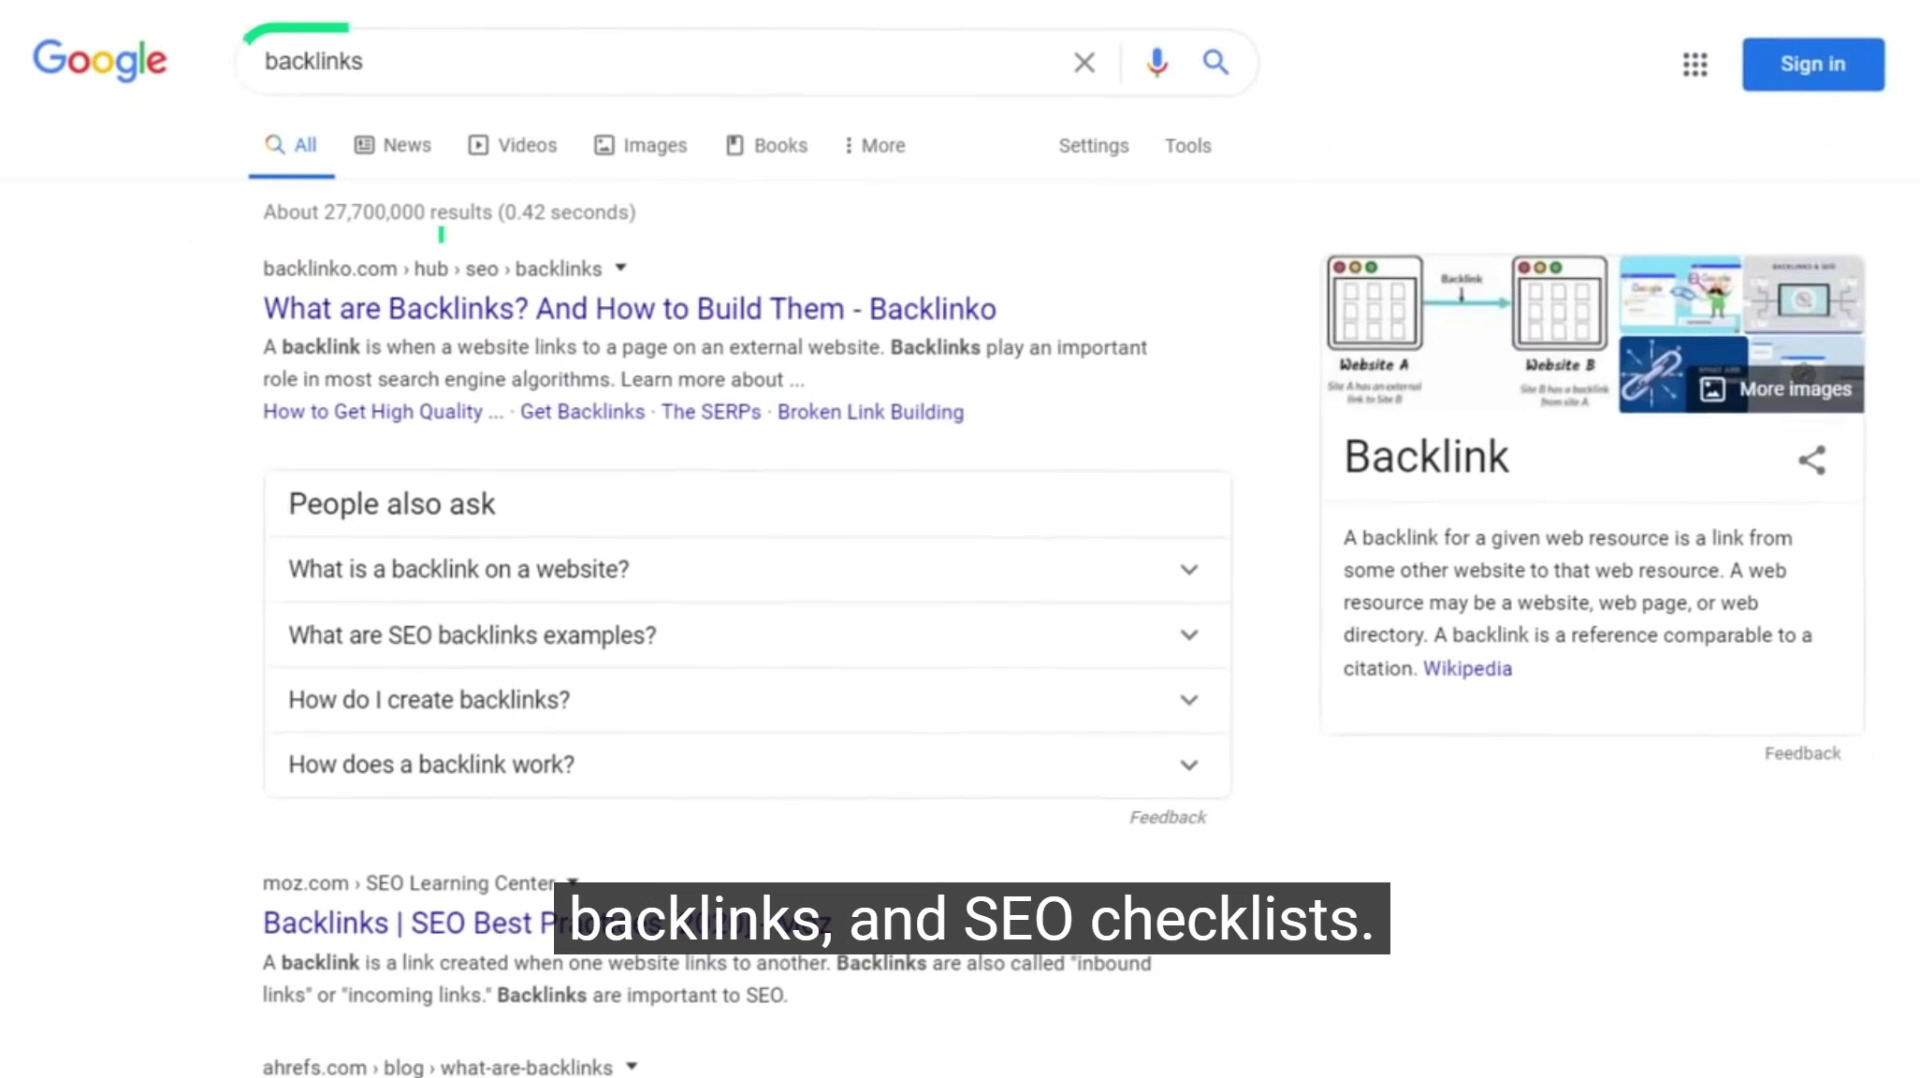
How I Got a #1 Ranking for “SEO”
A while back I published this video.
As you can probably tell from the title, my main keyword for that video was “SEO”.

And a few months after my video went live, I hit the #1 spot in YouTube search for that keyword:

Now, even after a few years, the video still maintains its position in the top 10 search results for that same keyword:

OK, enough bragging 🙂
Here are the three strategies I used to grab that highly competitive #1 spot.
First, I NAILED my intro.
Like I mentioned in Chapter 6, the first few seconds of your video are SUPER important.
This is why I went with a short and straightforward introduction.
Second, I published a long video.
12:43 isn’t that long.
But it was A LOT longer than most of the other videos on that topic at the time.
Which meant that I could cover everything someone needed to know about the basics of SEO in one place.

Finally, I optimized my video by including my keyword in my title:


And YouTube tags:

Thanks to this ranking (and views from Suggested Video), that video has racked up over 1.3 million views so far.

Nice.
Conclusion

You have a new system for creating videos to build trust with your target audience.
It’s time to think about how you’ll distribute your videos for increased visibility.
Search is one of the most effective ways to get sustainable video traffic.
This means having your videos appear high in Google and YouTube searches.
Curious?
Check out our in-depth guide on video SEO.
You’ll learn everything from keyword research to channel authority to promotional strategies.